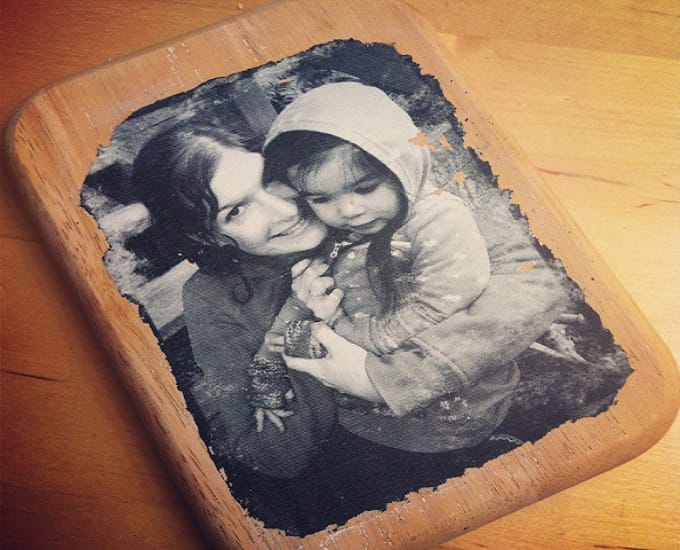
#3 A Wooden Picture
For today we have one interesting amazing tutorial that will impress you. We are about to share with you an easy and super creative way to transfer a photo onto wood. For this amazing Do It Yourself Tutorial you need a few important supplies and a can-do attitude. Don't worry the process is cheap and won't affect your wallet enough to make a difference.
This wooden frame and effect can be a novel idea for you and all your friends. Giving this to a friend or loved one is sure to score you some brownie points. So what are you waiting for? Just go the next page to find out what you need for this simple DIY project

#2 What You will Need
To pull off this amazing wooden frame you will need these important supplies:
1. A piece of wood
2. A laser printed copy of your photo on copier paper, the copy should be the mirror image of how you would like it to appear on the wood.
3. This ONLY works with laser copies. It won’t work with ink jet. (Make sure this is printed on regular paper, not photo paper.)
4. Modge Podge
5. Gel Medium
6. A sponge brush
7. Scissors to cut out your photo
8. A rag to soak your photo
9. A cup or plate to pour your gel medium and modge podge into
10. A boning tool or plastic card to get the air bubbles out with
Got it all? Confused how this stuff will help you? Go to the next page and find out.
#1 Watch And Share
This Video will show you the entire process. Watch it and share it with all your friends. This wooden frame is as novel as any.